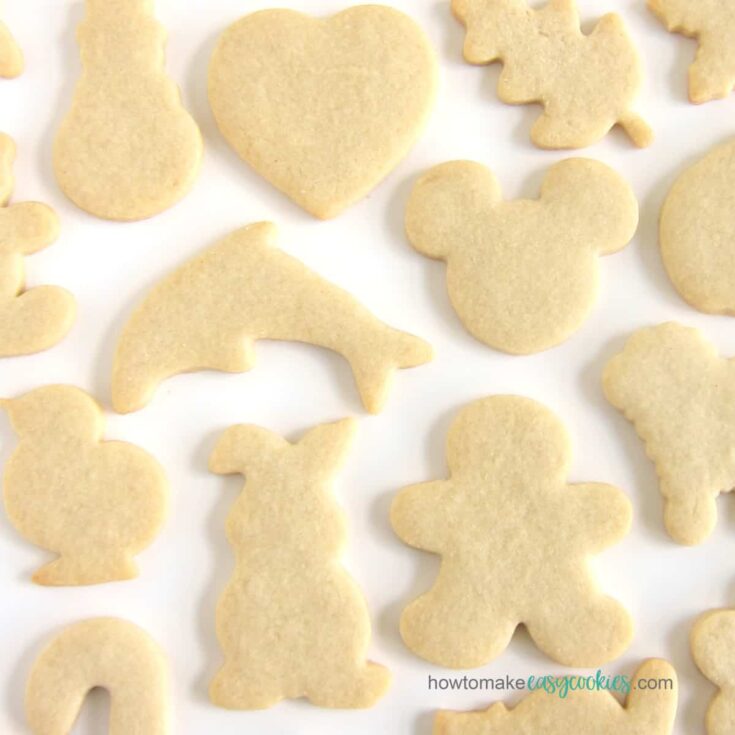
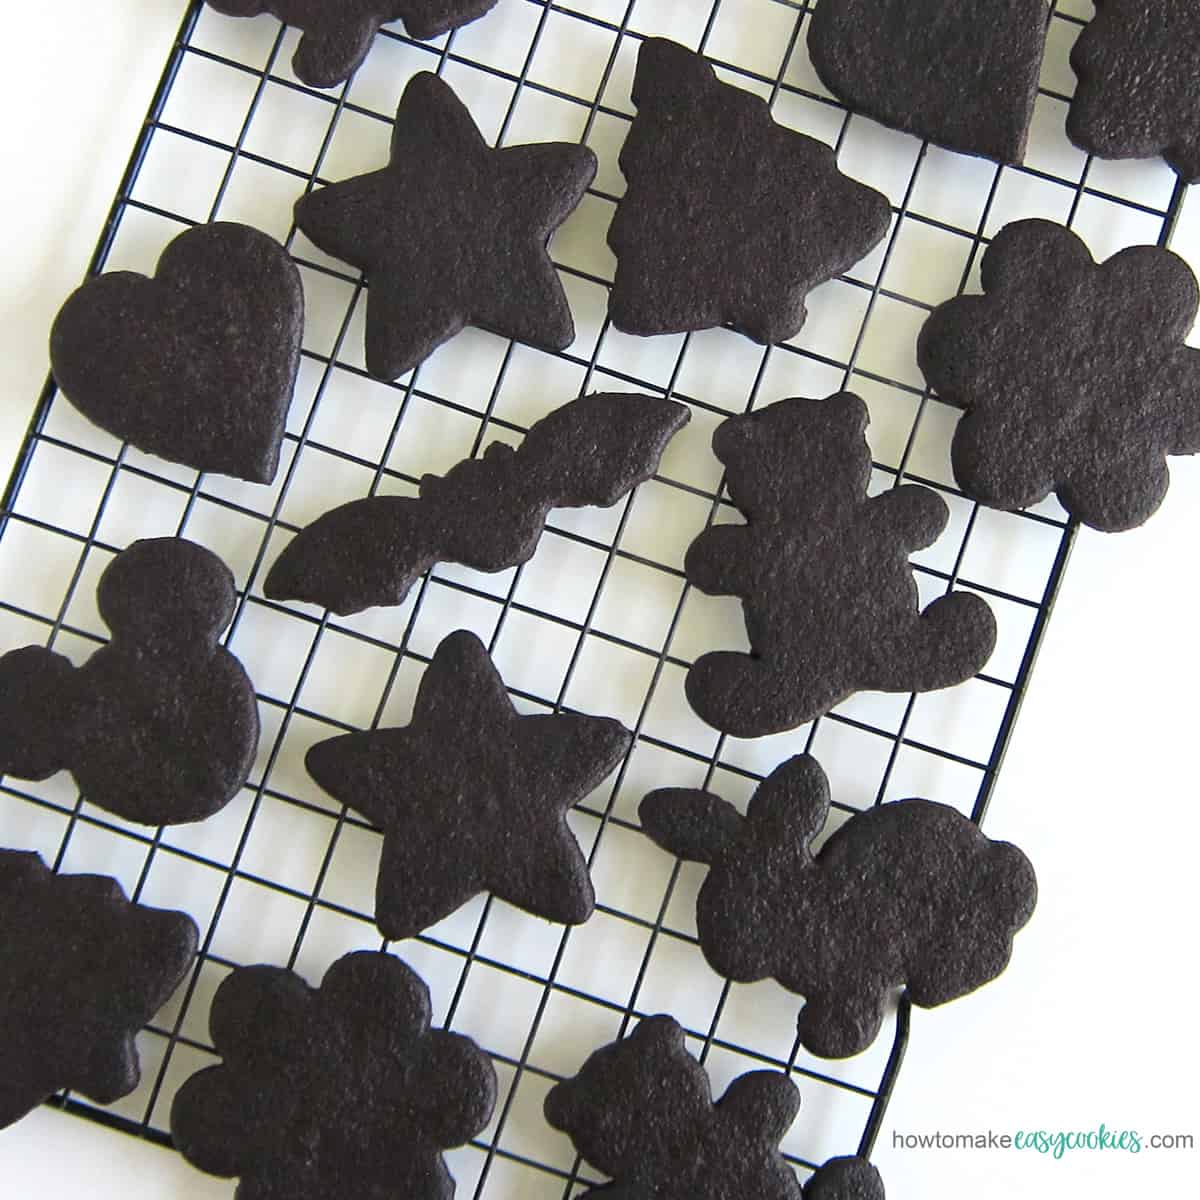
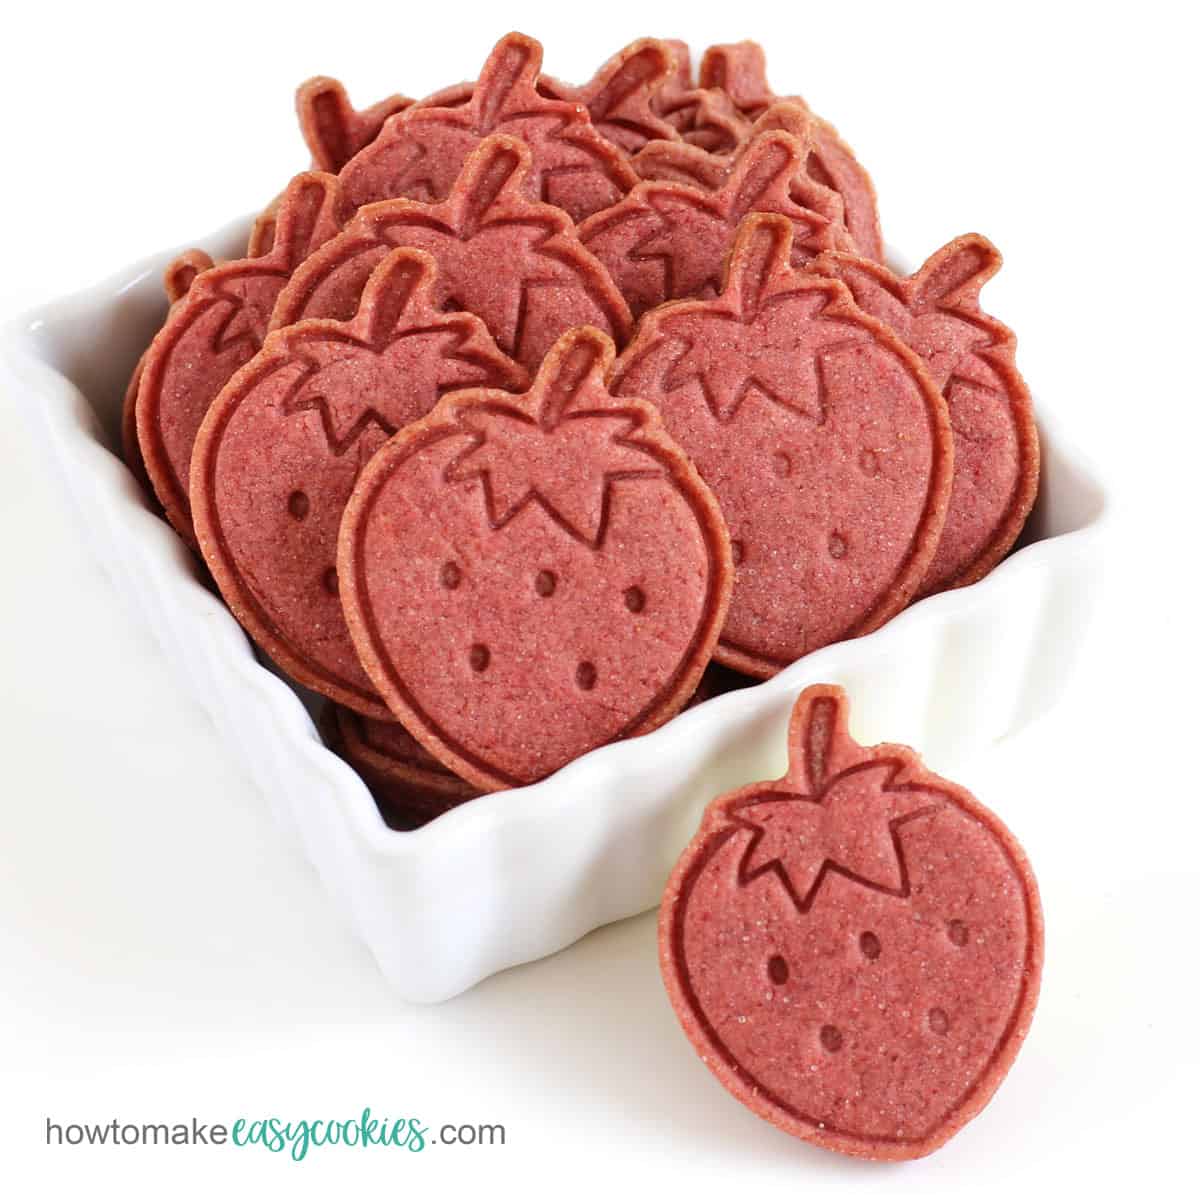
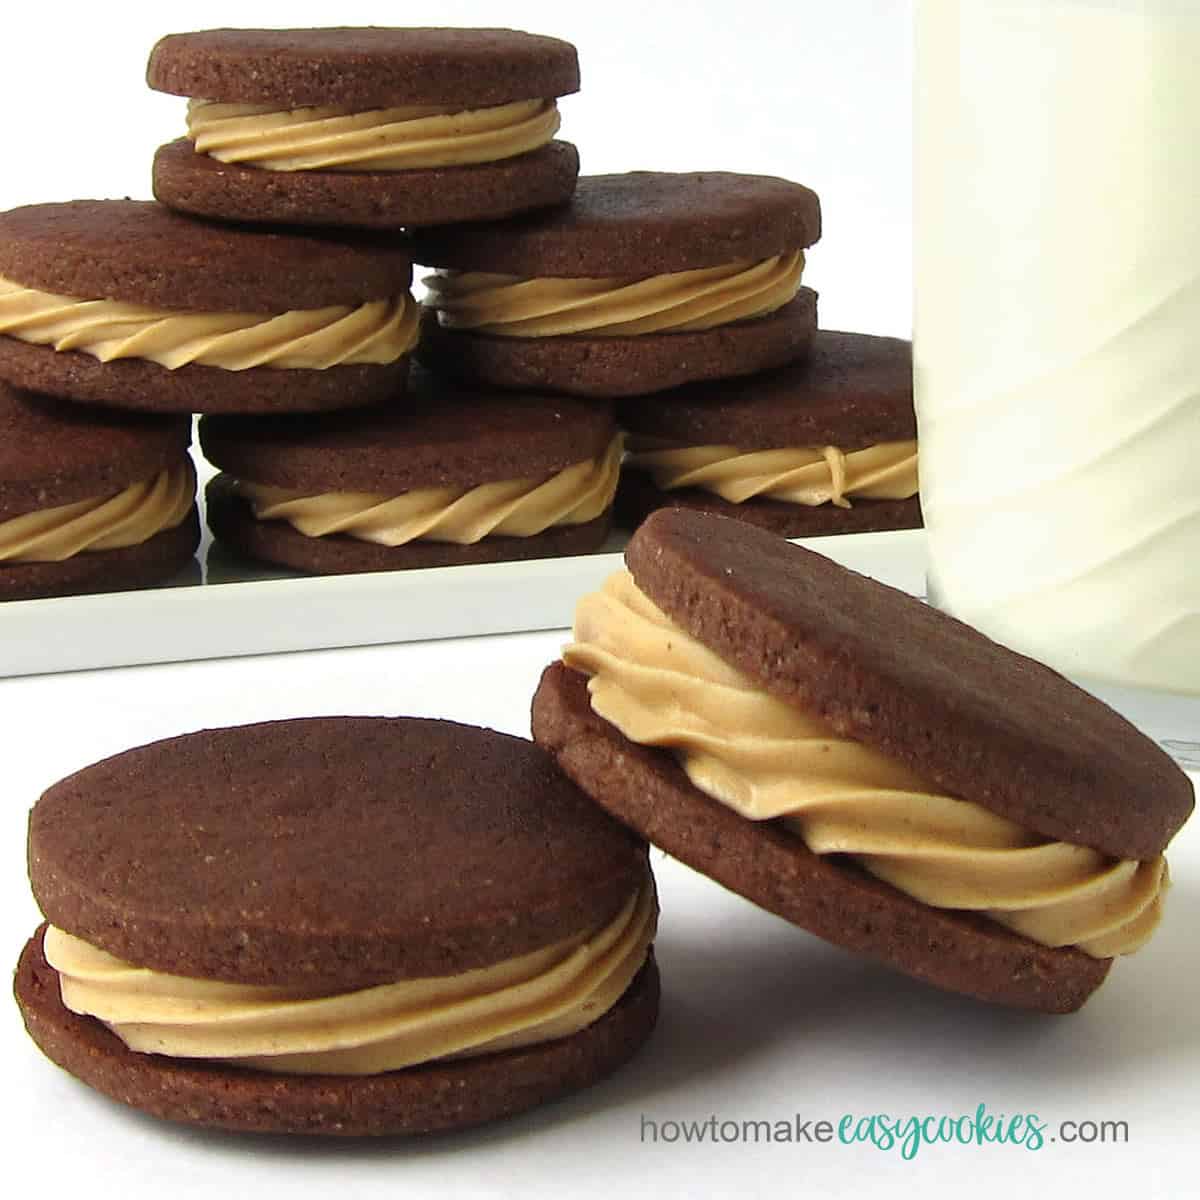
This is the best cut-out sugar cookie recipe for making cookie shapes for Christmas, Easter, Valentine's Day, or any day. The no-spread sugar cookie dough makes perfectly shaped cut-out cookies that are so flavorful that you'll love eating them plain or decorated with icing, modeling chocolate, candy melts, and more.
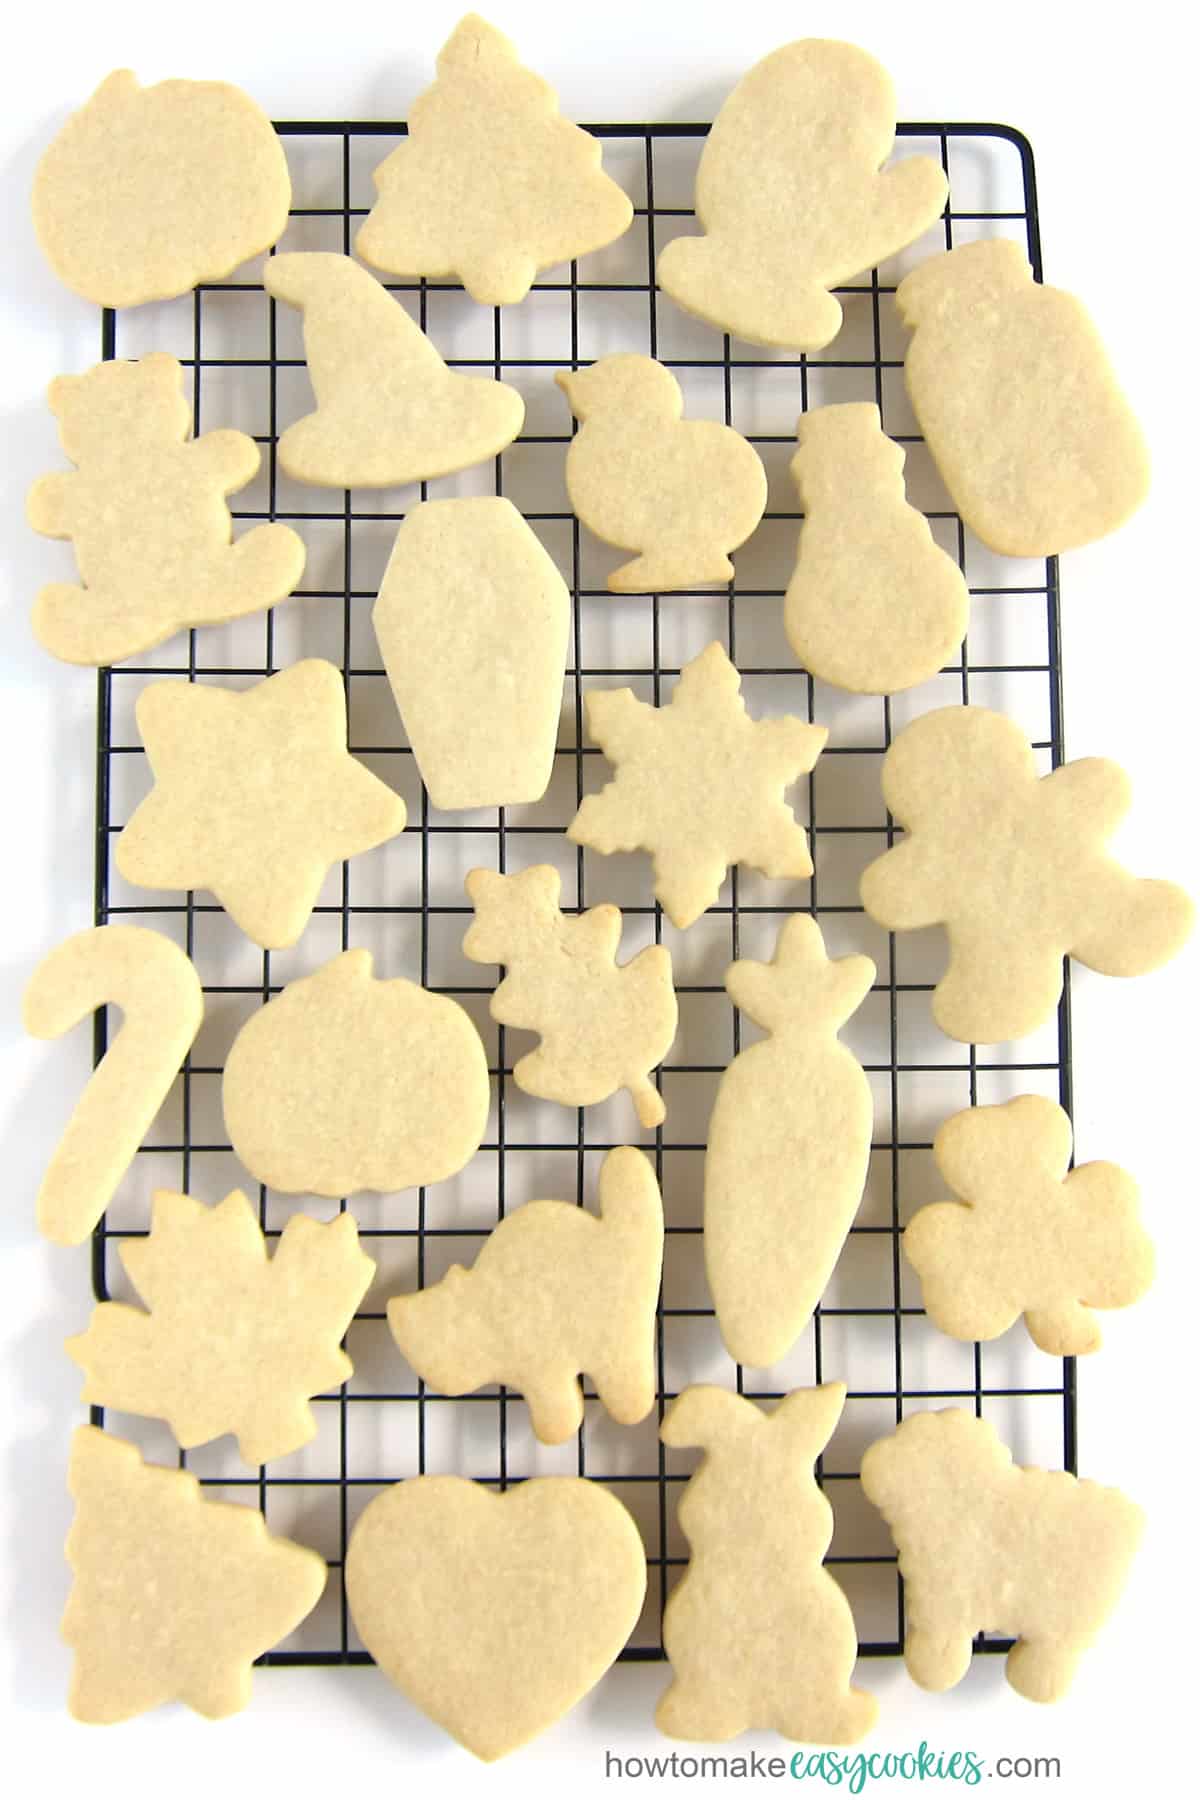
If you are looking to make perfectly shaped cut-out cookies that taste as good as they look, you've got to try this sugar cookie recipe. I know you'll love it.
The cookies have a wonderful texture that can be baked until soft or crispy, whichever you prefer.
They get their sweet flavor from a combination of granulated sugar, vanilla extract, and almond extract. You can change up the flavor profile by using peppermint, lemon, butter rum, or other extracts.

These cookies taste so amazing on their own but they also make the perfect canvas for decorations made using buttercream frosting, royal icing, modeling chocolate, fondant, candy melts, ganache, and more.
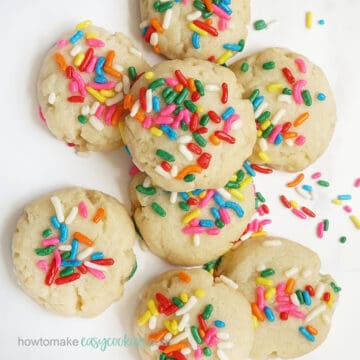
Pictured above are just a few of the festively decorated cookies using this recipe that I've shared on my Hungry Happenings blog. Click the links below to see these recipes, videos, and step-by-step tutorials.
- Ladies Hat Cookies - brightly colored 3-D hat-shaped sugar cookies filled with candy
- Graduation Cookies - round sugar cookies decorated with modeling chocolate graduates
- Minion Cookies - yellow sugar cookies decorated with modeling chocolate
- Basketball Cookies - round cut-out pinata-style cookies filled with candy
- "Sprinkle Kindness" Cookies - cut-out alphabet cookies decorated with chocolate ganache frosting
- Christmas Present Cookies - 3-D gift boxes filled with Christmas candy
- Snowman Cookies - sugar cookies with candy glass bellies and snowflake sprinkles
- Sombrero Hat Cookies - iced 3-D sombrero cookies filled with candy
- Mason Jar Cookies - sugar cut-out cookies with candy glass
As you can see, this recipe is very versatile. I hope you find lots of different ways to decorate your cookies.
Let's make the cookie dough.
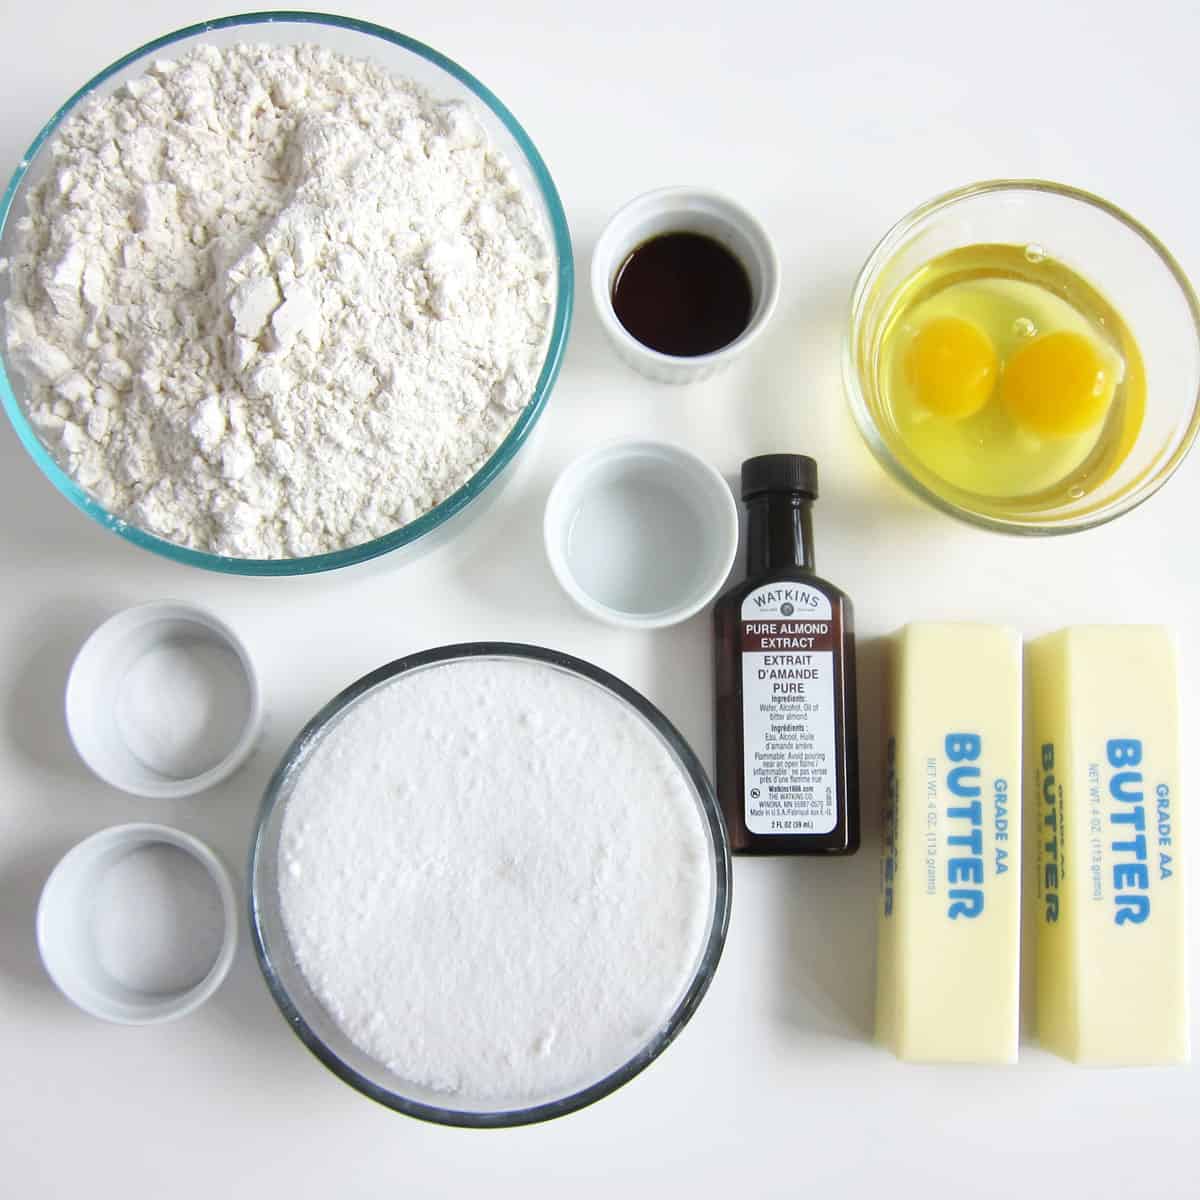
Ingredients:
butter: I prefer using unsalted butter to make these cookies because I add salt to the dough. If you use salted butter, reduce the salt in the recipe by half.
granulated sugar: This type of sugar will produce cookies that have a sweet flavor and are a bit crispier than cookies made using powdered sugar.
eggs: Use two large eggs. It's best that the eggs are at room temperature. You can warm them quickly by placing the eggs (in their shell) in a bowl of hot tap water for about five to ten minutes.
vanilla: The vanilla flavor really shines through in these cookies so use good quality pure vanilla extract or vanilla bean paste.
almond extract: This adds a bright flavor to these sugar cookies. I really love Watkins Almond Extract. It's my favorite brand. You can use peppermint, lemon, or butter rum extract if you prefer.
flour: Use all-purpose flour. It's always best to weigh the flour. This recipe will use 512 grams of flour. If you don't have a scale, spoon your flour into a measuring cup then scrape across the top. You'll use 4 cups.
baking powder: Add ¼ teaspoon of baking powder so the cookies rise just enough to have a good texture.
salt: It's always best to add salt to cookie dough to balance the sweetness. I use table salt in this recipe. If you use salted butter, use ¼ teaspoon of salt instead of ½ teaspoon.
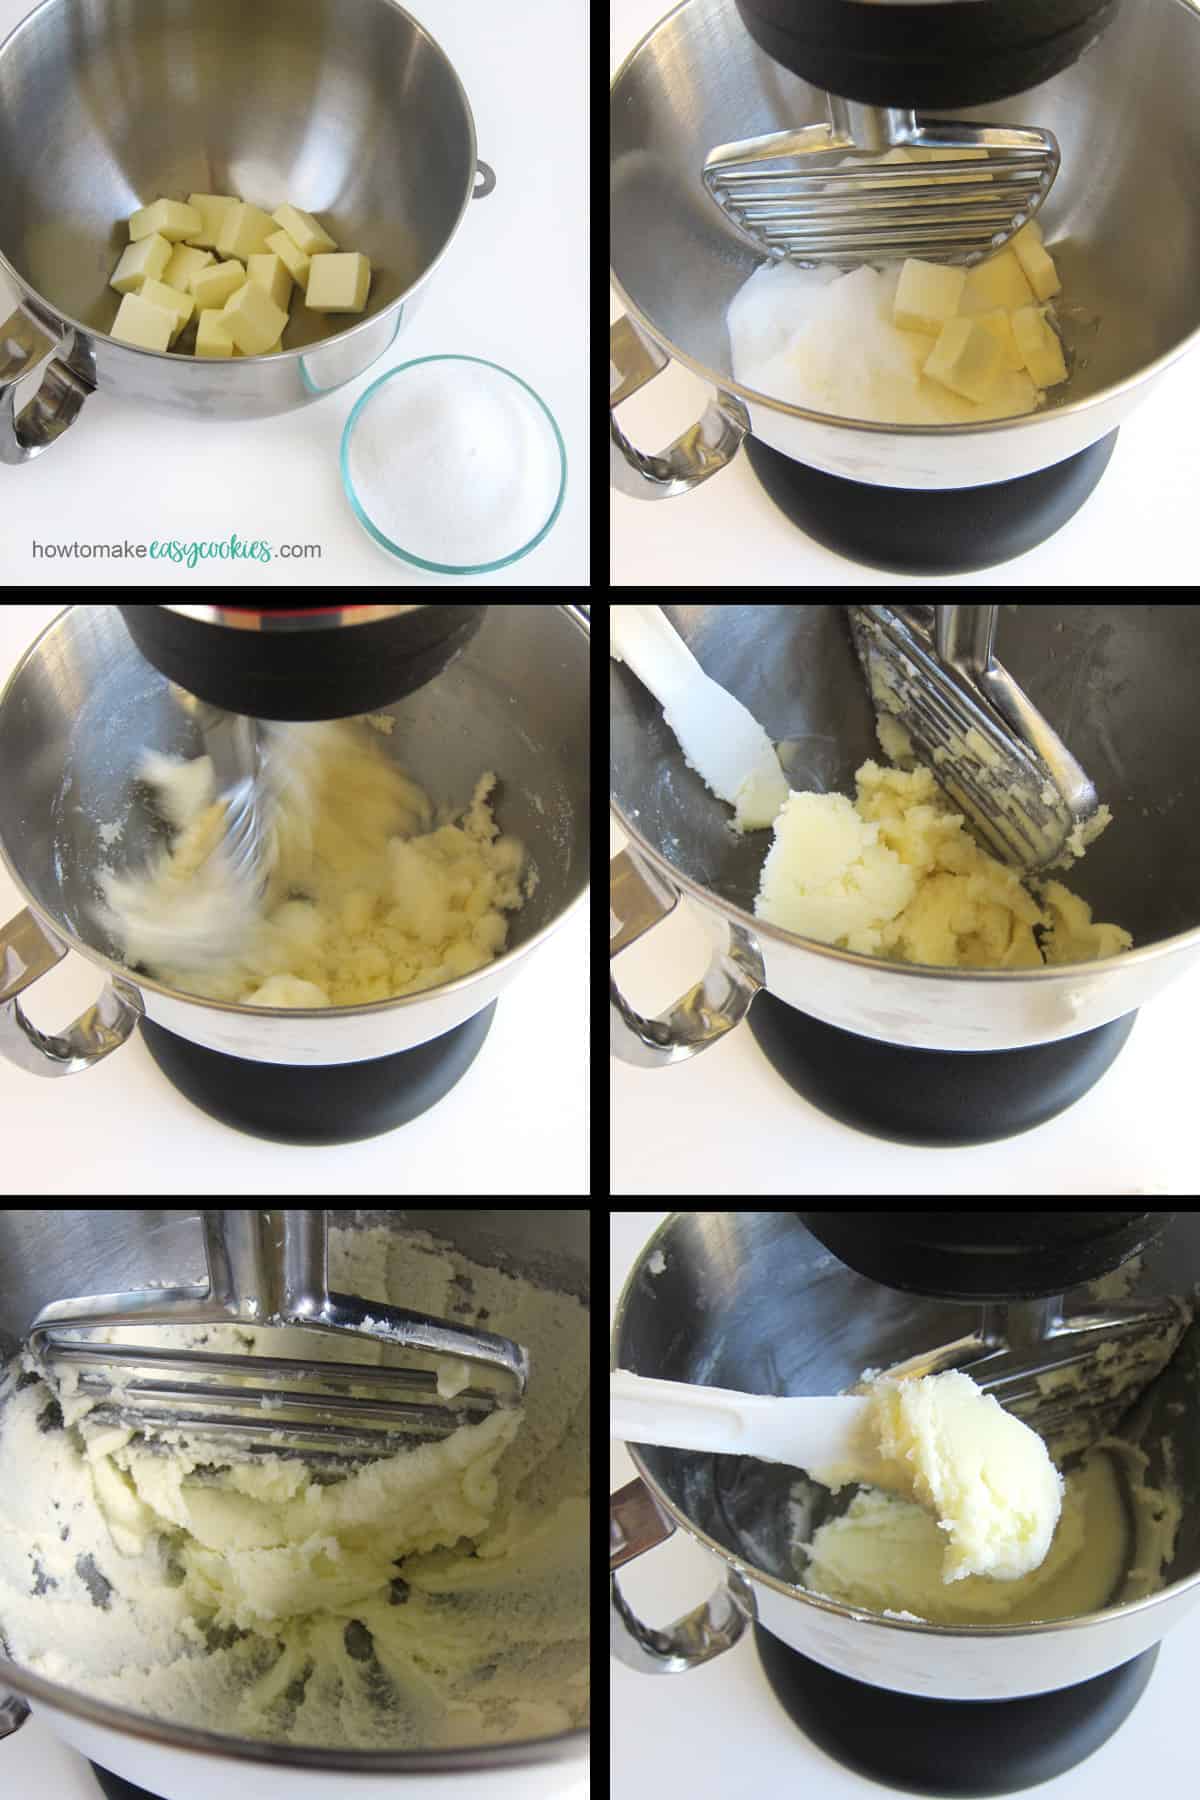
Cream butter and sugar.
For this recipe, you want to soften your butter just until it's soft enough for you to press your finger into it and it makes an indentation. Don't let it get too soft or your cookies may spread.
Tips for softening butter quickly:
- Cut the butter into small tablespoon-size pieces and set them in your mixing bowl. The butter will be soft enough to cream in about 20 minutes. This is my preferred method.
- If you are really in a hurry, fill a tall glass cup with water. Bring to a boil in the microwave. Dump the water out and dry the glass. Set it upside down over your sticks of butter for a minute. Your butter will get soft quickly and may even melt slightly around the top edge.
Add the sugar and beat on medium speed for 2 minutes if using a stand mixer and about 3 minutes if using a hand mixer until it becomes lighter in color and creamy. If you mix it too much, your cookies will have a lighter texture and may spread. We want a firmer, denser cookie so they hold their shape well.
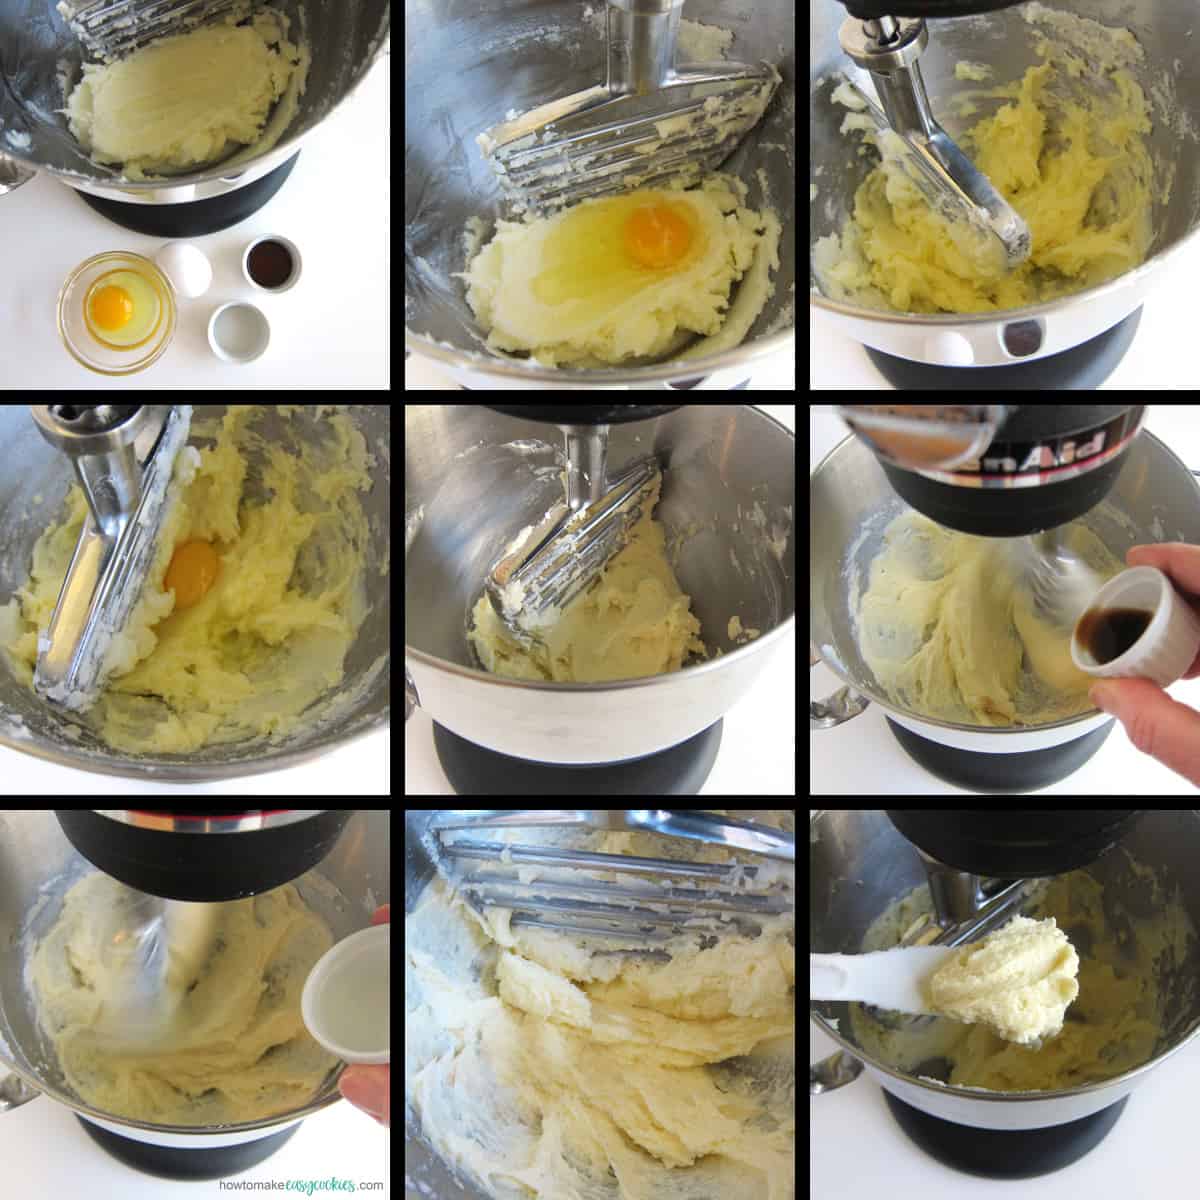
Add eggs one at a time.
Your eggs will blend with the butter and sugar easier if you add them one at a time. Taste of Home has a great article explaining the science behind this.
Tips for adding eggs:
- If you whisk your eggs before adding them to the cookie dough, they'll mix in more evenly, giving you a really smooth and creamy mixture.
- Do not crack your eggs into the bowl. It's hard to see tiny pieces of eggshell in a mixing bowl filled with other ingredients. I crack my eggs into a small bowl so I can see and easily remove any shell pieces that might have fallen into the egg. Then, I pour the egg into the mixing bowl.
Adding the flavoring.
You can stop the mixer to add the vanilla and almond extract, but I just keep it running so it mixes more quickly.
Coloring cookie dough.
If you plan to color your cookie dough (all the same color), I suggest you add the coloring along with the flavoring. That way, you can make sure it's well blended. If you wait until after the flour is added, you may overmix the dough, developing too much gluten which will cause your cookies to be tough.
Just be sure to make the color a bit brighter than you need because it will lighten once you add the flour.
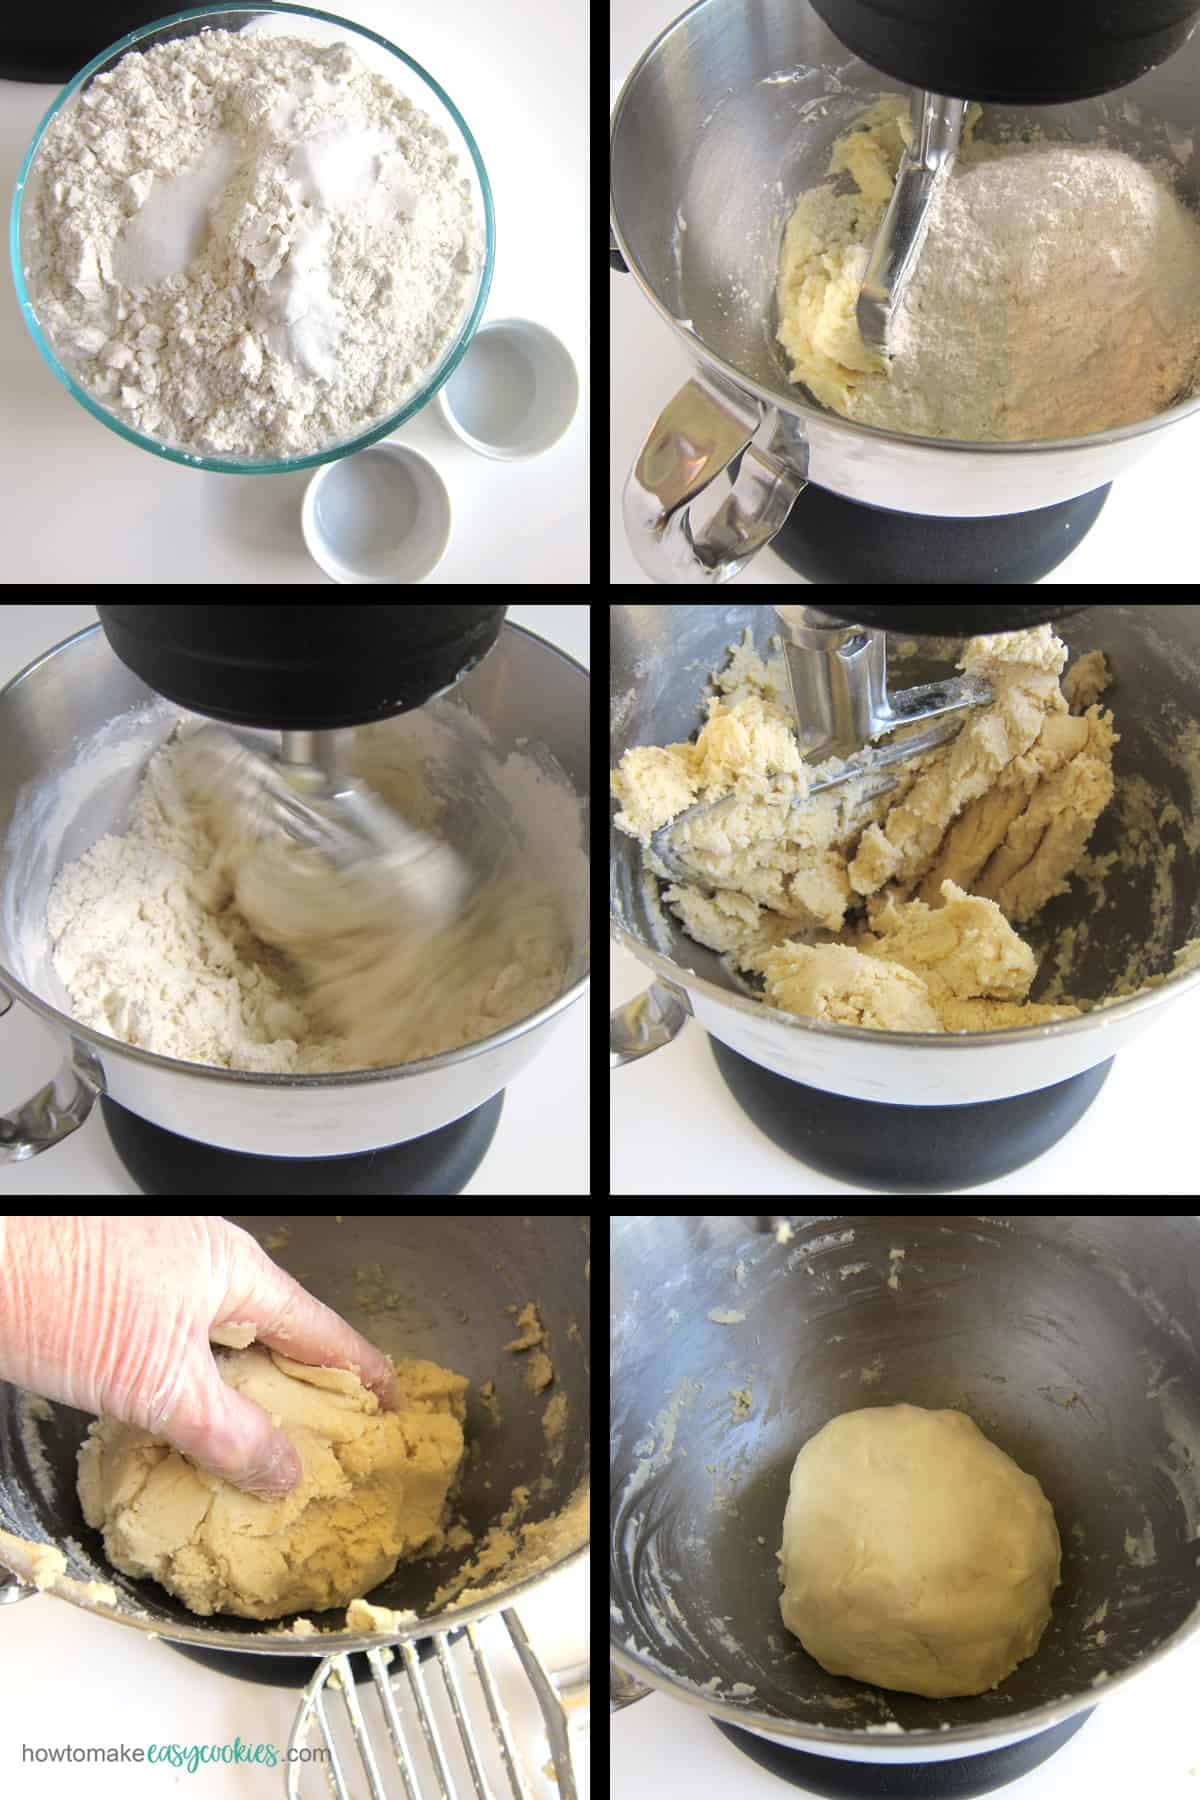
Mix the dry ingredients into the wet ingredients.
It's always best to mix the flour, baking powder, and salt together before adding it to the dough so you don't end up with pockets of salt or powder in the dough.
Mix the dry ingredients into the wet ingredients on low speed just until incorporated and the dough starts to come together. Then, use your hands to form it into a ball.
If you overmix the flour, you will develop too much gluten which will make your cookies tough instead of tender.
Do I need to chill the cut-out sugar cookie dough?
No, but you can. This dough is ready to go right after it comes out of the mixer. If you chill your dough, divide it in half, and flatten it into a ½-inch thick disc. Place the dough into large zip-top bags and chill for up to 3 days. (See freezing tips below.)
Thaw on the counter for 10 minutes before rolling.

How to cut out cookie dough?
Begin by placing a flattened ball of about ⅓rd of your cookie dough on a lightly flour-dusted countertop or silicone mat (my preferred method).
Roll the dough to ¼ inch thickness using a rolling pin. You can make thicker or thinner cookies using this dough. Just be sure to increase or decrease the baking time.
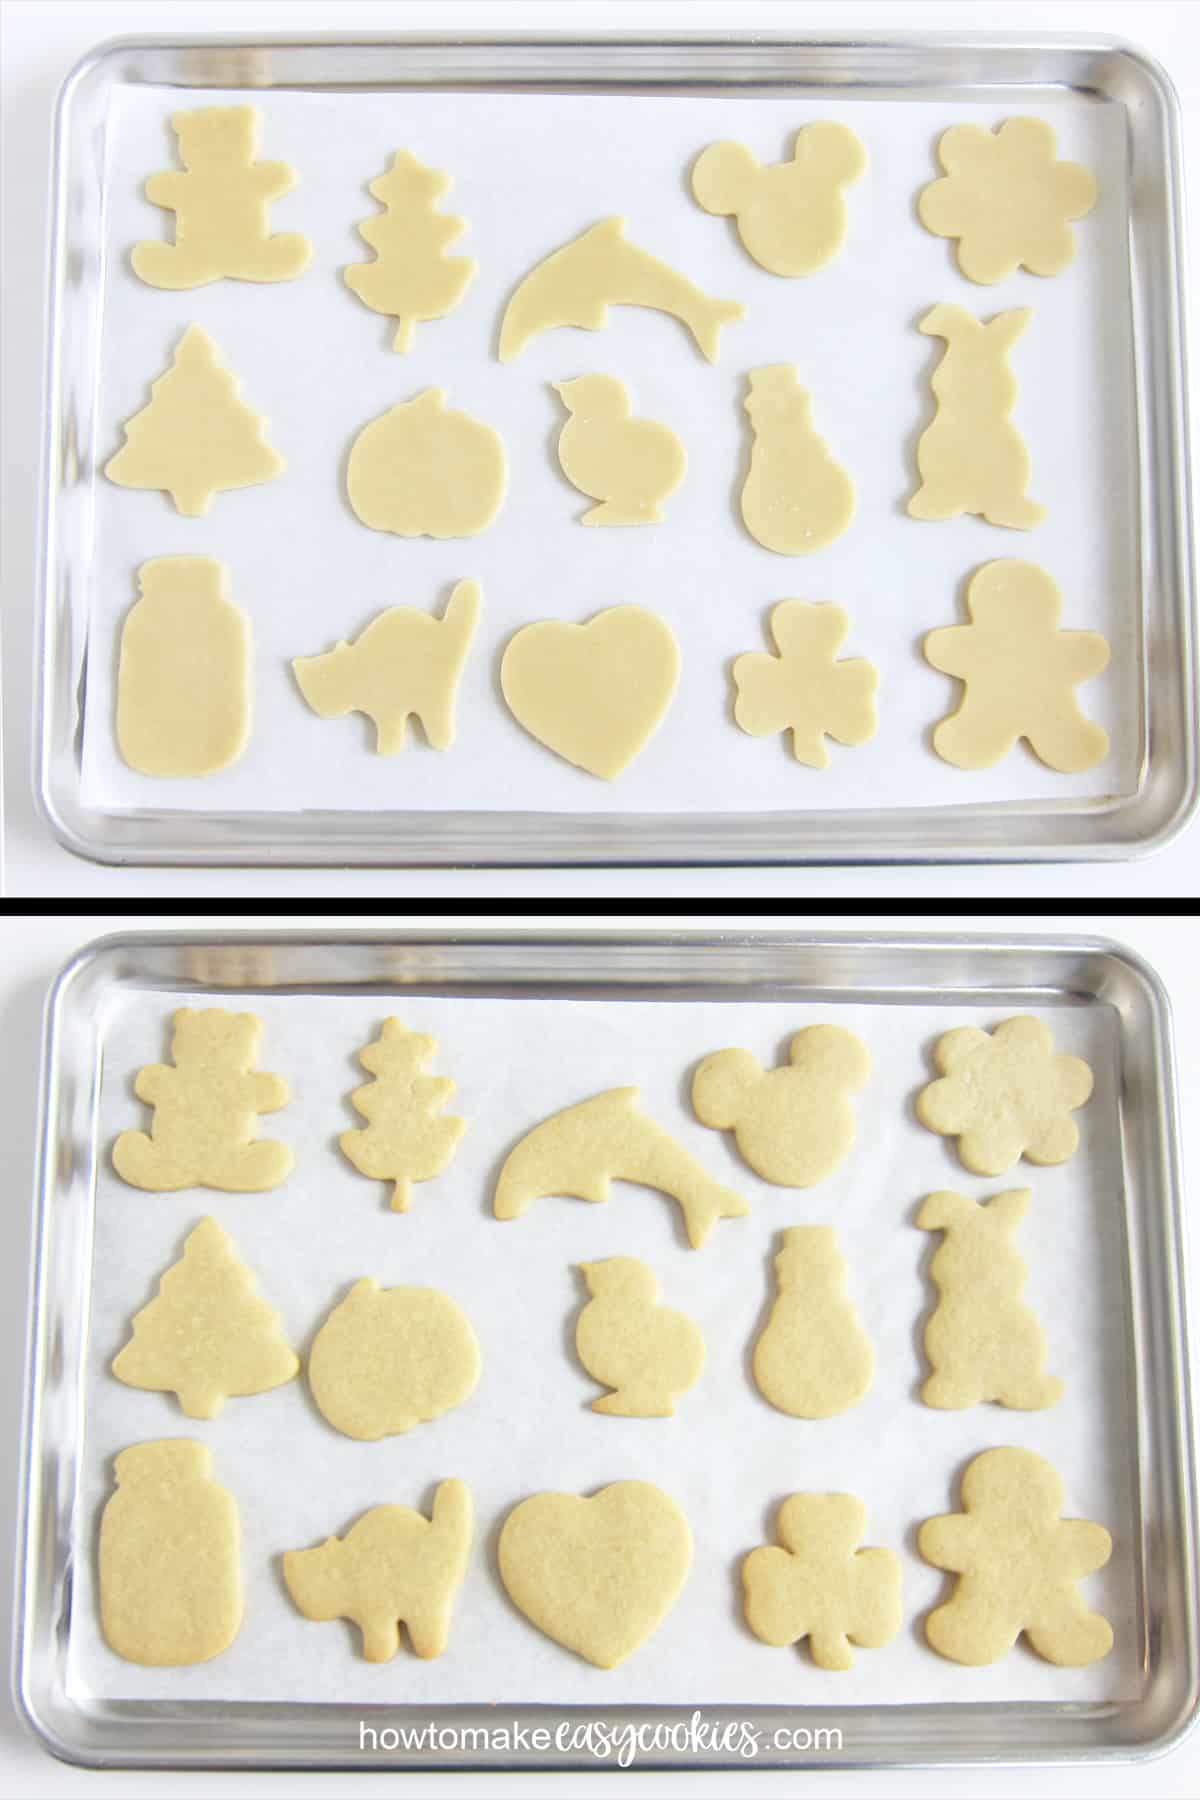
Then, cut the dough using your favorite cookie cutters. It's best to dust the cookie cutters lightly with flour before cutting them. Press the cutter into the dough, then wiggle the cutter slightly. Pull it up off the dough.
Peel away all the excess dough. Roll that dough with the remaining dough and repeat this process.
Tip: Use a silicone mat to roll out your dough.
If you roll the cookie dough out on a silicone mat, you can cut the cookies, then remove the excess dough, and place the mat (with the cookies on it) in the freezer for a few minutes so the cookies become firm. Then, you can peel them off the mat and place them on your baking tray.
The cookies will hold their shape perfectly using this trick.
Chill the cut-out cookies, then bake.
I like to chill my cookies in the refrigerator for 10-15 minutes (unless I have frozen them on a silicone mat) just to ensure they hold their shape perfectly. The cold dough will start to bake more slowly in the oven which prevents spreading.
You can skip this step unless your kitchen is really warm, though I highly recommend it.
Bake cut-out cookies on parchment paper-lined baking trays.
Bake your cookies on parchment-paper-lined baking trays. Not only will this prevent sticking but the paper acts as a buffer between the cookie and the pan which keeps the cookies from getting dark on the bottom.
Or bake on silicone mats.
You can alternatively bake your cookies on your silicone mats. Just be sure to space them about an inch apart before baking.
Bake the cookies.
Bake the cookies in a 350-degree Fahrenheit oven (177 C) for 8-14 minutes depending on the size of the cookies. 3-inch cookies typically take 10-11 minutes in my oven.
Tips for baking cookies:
- I recommend baking one tray of cookies at a time and rotating them midway through the baking cycle.
- It's best to bake similarly sized cookies on one pan. If you have small and large cookies, separate them on different trays.
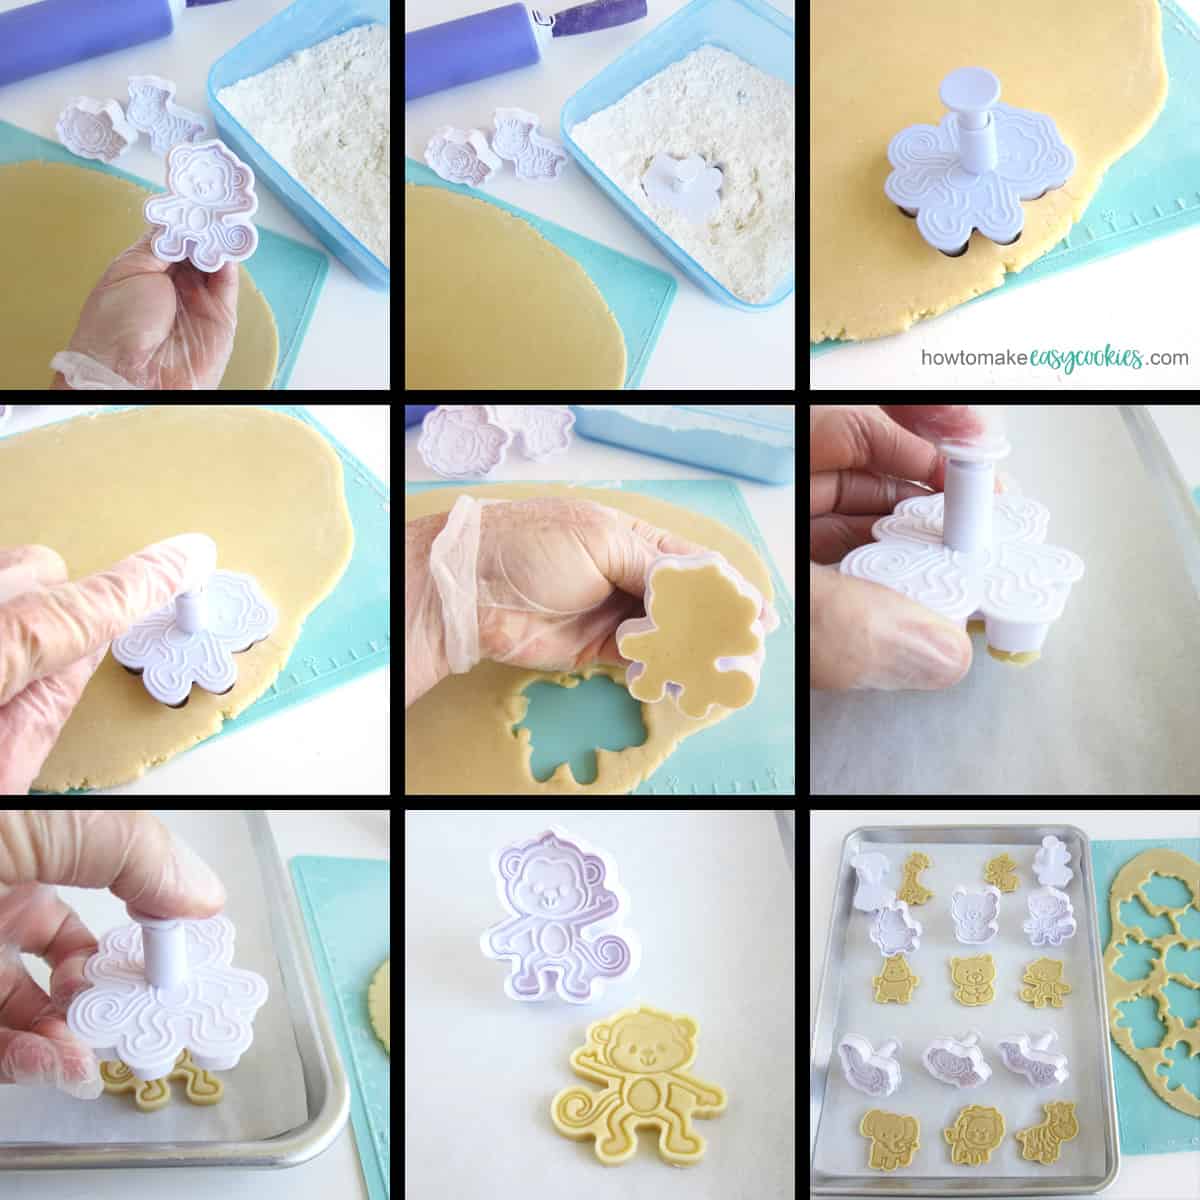
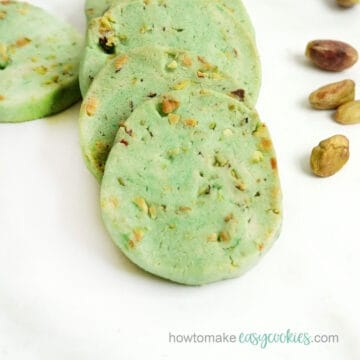
This cookie recipe is ideal for use with cookie stamps or plunger cutters like those pictured above because the cookies don't need frosting. They taste great on their own.
Cutting cookie dough using a plunger cutter.
- Dust the inside of the plunger cutter with flour, then tap away any excess flour.
- Press the plunger cutter into the cookie dough, cutting the exterior shape. Push the plunger down so the stamp presses into the cookie dough.
- When you lift up the cutter, the dough will stick. Move it to your cookie sheet, then press the plunger again and the dough will fall out.
How many cookies will this recipe make?
You'll get about 36 cookies that are approximately 3-inches and up to 60 small 1-inch to 2-inch cookies.
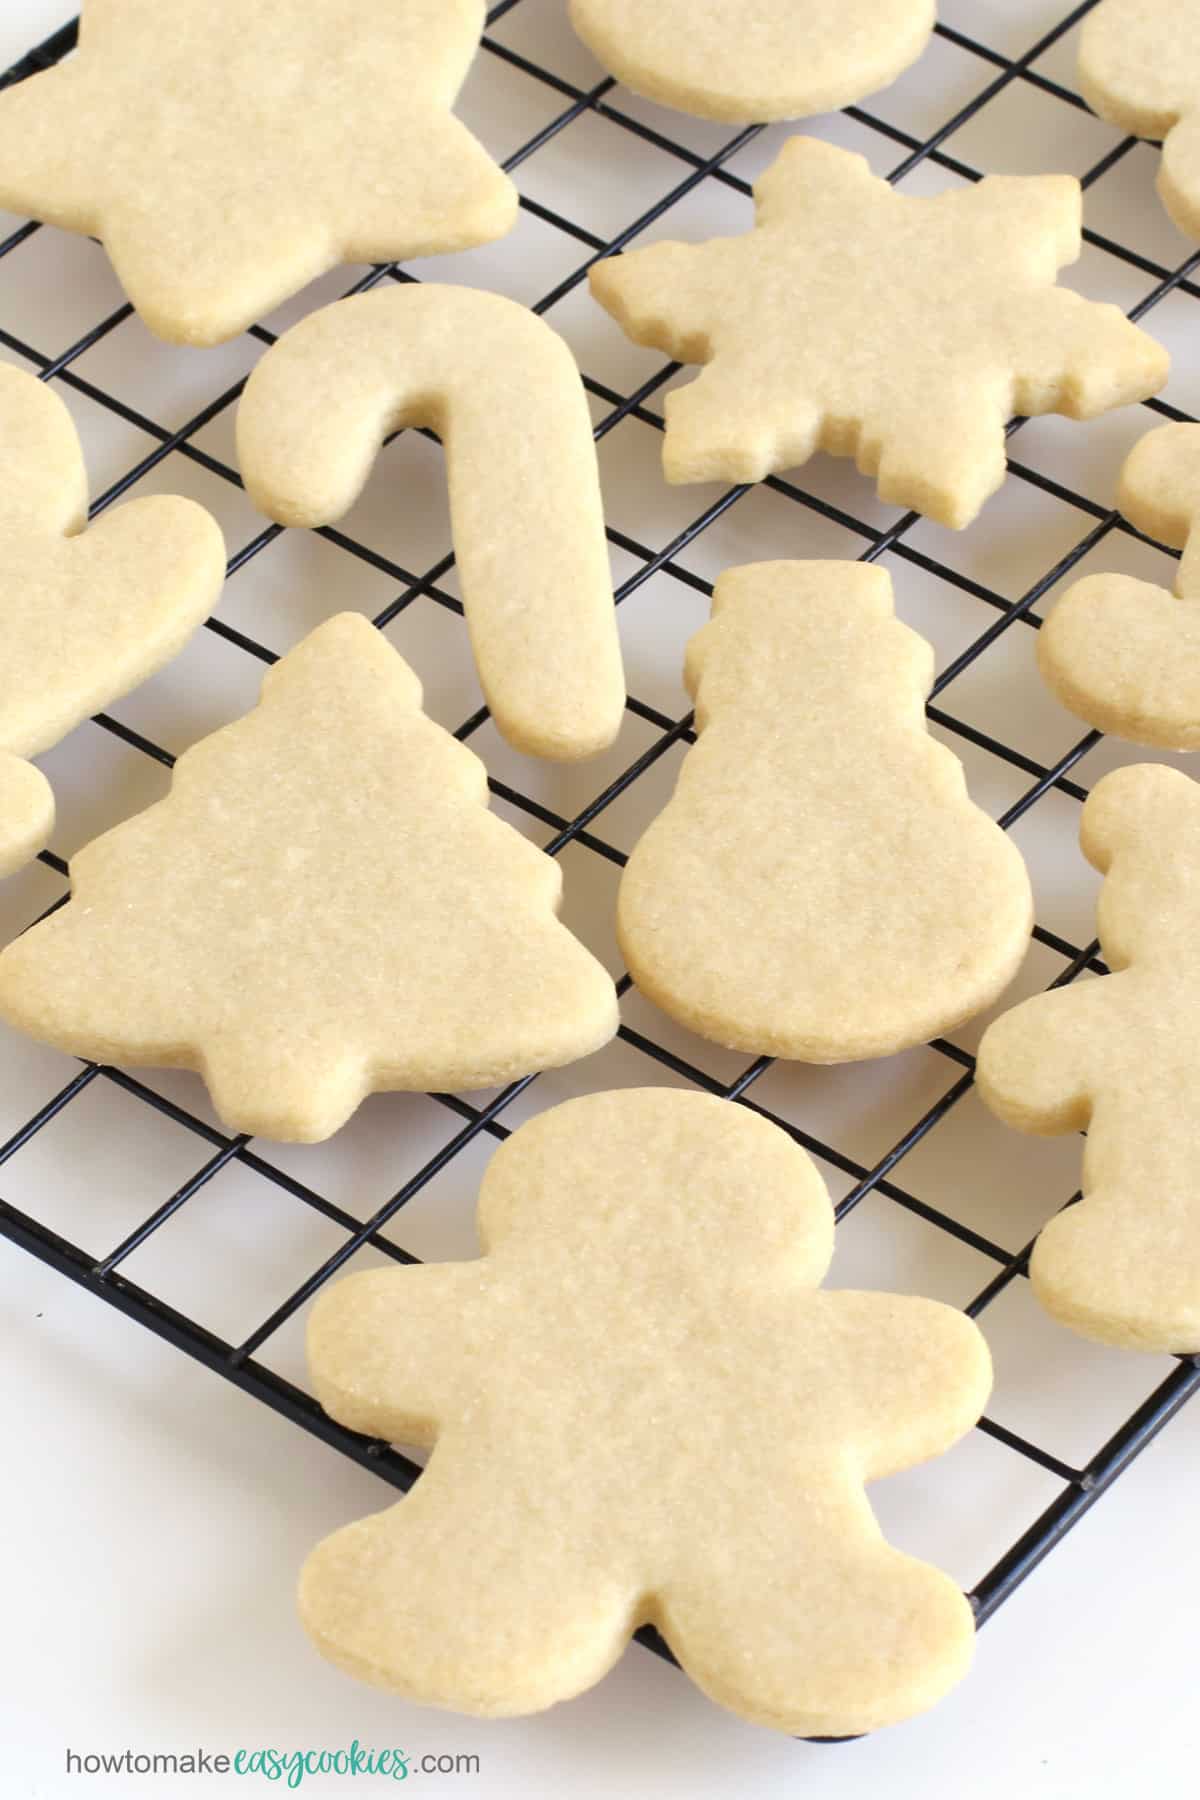
This cookie dough recipe is perfect for all your Christmas cookie baking. Use Christmas trees, snowmen, gingerbread men, stars, ornaments, candy cane cookie cutters, and more.
How to store these cut-out cookies?
One of the best things about these cookies is that they stay fresh and taste great for up to two weeks when stored in an airtight container at room temperature.
Cookies will always stay freshest longest when stored in an air-tight metal cookie tin. Tins have a better seal than plastic containers but plastic containers will work fine to keep your cookies fresh for about 10 days.
Can I freeze the cookie dough and the cookies?
Yes to both questions.
Flatten the cookie dough into a ½-inch thick disc and place it in a zip-top bag, then freeze the dough for up to 3 months. Thaw the dough in the refrigerator overnight before using.
The baked cookies can be stored in an airtight container or zip-top bag in the freezer for up to 6 months. Layer the cookies between parchment paper or wax paper if you want to stack them in your container.
Printable cut-out sugar cookie recipe:
cut-out sugar cookie recipe
Bake perfectly shaped cookies for Christmas or other special occasions using this flavorful, no-spread, cut-out sugar cookie recipe.
Ingredients
- 512 grams (4 cups) all purpose flour*
- ½ teaspoon salt
- ¼ teaspoon baking powder
- 1 cup butter, softened slightly**
- 1 ½ cups (301 grams) sugar
- 2 large eggs, at room temperature
- 1 ½ teaspoons pure vanilla extract
- ¾ teaspoon almond extract (or peppermint, lemon, or butter rum)
Instructions
- Preheat your oven to 350 degrees Fahrenheit (177 C)
- Line 3 baking trays with parchment paper (or silicone baking mats).
- Whisk together the flour, salt, and baking powder. Then, set aside.
- Cream the butter and sugar on medium speed for about 2 minutes if using a stand mixer and for about 3 minutes if using a hand mixer until creamy and lighter in color. Scrape down the bowl midway through mixing.
- Add one egg at a time and mix until incorporated.
- Scrape down the bowl, then, mix in the vanilla and almond extract until blended.
- Pour the flour mixture into the wet dough and beat on low speed just until incorporated. Do not overmix.
- Use your hand to pull the dough together into a ball.
- Dust your countertop or a silicone mat lightly with flour.
- Roll about ⅓rd of the cookie dough out to ¼-inch thickness.
- Cut using cookie cutters or plunger cutters and cookie stamps.
- Remove the excess cookie dough and roll it together with some of the other dough to use to make more cookies.
- Use a thin metal spatula to lift your cookies off your countertop and place them about an inch apart on the lined baking sheets.
- If you rolled your cookies out on a silicone mat, you can freeze them for 5-10 minutes, then easily peel them off the mat. They'll hold their shape perfectly using this method.
- If your cookie shapes haven't been chilled (using a silicone mat), chill them in the refrigerator for 10-15 minutes. This will ensure they maintain their shape perfectly.
- Bake the cookies for 8-14 minutes, depending on the size until the tops no longer look shiny and wet and the edges have set. For crispier cookies, bake until the edges become golden brown. For even baking, bake one tray at a time in the middle rack and rotate the pan halfway through the baking cycle.
- Allow the cookies to cool on the baking sheet for 5-10 minutes, then move them to a cooling rack to cool completely. For crispier cookies, just cool them on the baking tray.
- Enjoy the sugar cookies plain or decorate them using royal icing, buttercream frosting, modeling chocolate, fondant, or candy melts.
Notes
Storing cookies:
Store your cookies in an airtight container at room temperature for up to 2 weeks.
Freeze the cookies in an airtight container or zip-top bag for up to 6 months.
*Measuring Flour
It's best to weigh your flour so you get the most accurate measurement. If you do not have a kitchen scale, spoon the flour into your measuring cups, then scrape across the top of the cup removing the excess.
**Softening Butter
Soften the butter until it is just soft enough to press your finger into it leaving an impression. To soften butter quickly, cut it into small tablespoon-size pieces, and set them in a single layer in the mixing bowl for about 20 minutes. They should be ready then.
Nutrition Information:
Yield:
36Serving Size:
1Amount Per Serving: Calories: 134Total Fat: 6gSaturated Fat: 3gTrans Fat: 0gUnsaturated Fat: 2gCholesterol: 24mgSodium: 78mgCarbohydrates: 19gFiber: 0gSugar: 8gProtein: 2g
HowToMakeEasyCookies.com offers nutritional information for recipes contained on this site as a courtesy and is an estimate only. This information comes from online calculators. To obtain the most accurate representation of the nutritional information in any given recipe, you should calculate the nutritional information with the actual ingredients you use to create this recipe.
Troubleshooting
Why did my cut-out cookies spread?
- If your butter is too soft or the butter and sugar are creamed for too long or at too high a mixer speed, your cookies might spread. Allow the butter to soften just until you can press it and it indents slightly. Cream the butter and sugar for 2-3 minutes on medium speed.
- If you overbeat the cookie dough after you add the eggs, your cookie dough will be too delicate and it may spread. Just beat the dough until each egg is incorporated.
- If you add too much baking powder, your cookies may puff up and spread.
- If your kitchen is too warm and you allow the cookies to sit on the counter for too long before baking, the butter in the dough will get too warm and your cookies might spread. Chill the cut-out cookies in the refrigerator while your other tray of cookies is baking.
Why are my cookies hard?
- If you bake the cookies until they are golden brown, they will become crispy. Some people, me included, like a crispy sugar cookie. If you prefer softer cookies, bake them until they look dry on the top but are still white or only lightly golden brown around the edges.
- Hard and tough cookies are caused by overmixing the flour into the dough. Just mix the flour into the wet ingredients until blended. Do not overmix!
More Cut-Out Cookie Recipes


- brownie mix cookies - June 9, 2023
- Sugar Cookie Cups - May 17, 2023
- Peanut Butter Cookie Cups - May 9, 2023

Please leave a comment.